There are many good custom pro modeler and most of them are self learnt as the art of custom repaint are not covered by books. It is more on experience that they gain along when they started working on their masterpiece.
Apart of talented skills, there are many good tools required for the job too.
Most of the plastic/Resin figures are not perfectly made during the mass production which resulted the plastic/resin to have defects such as stress mark, flash, nick, deform and other type of defects that you can find on any new toy.
Toys and figures that were made in the past is no longer having the same quality level as it is now. Many who have been collecting these figures knows how much quality have dropped even to some well-known brand name like Takara Tomy. The worst are from the "H" which with their global domination on this business, they are more on making revenue than thinking of improving or even to maintain the quality level like in the past.
As far design is concern, it is also very much being simplified. Example, hands with articulated fingers become a fixed hand... and you can see more ball joints compare to swivel joint.
This in return have created many 3rd party toy maker to come out their own toy line that are much better than what "H" have to offer now. Apart from quality degradation, we also seeing continuous increase in the retail selling price.
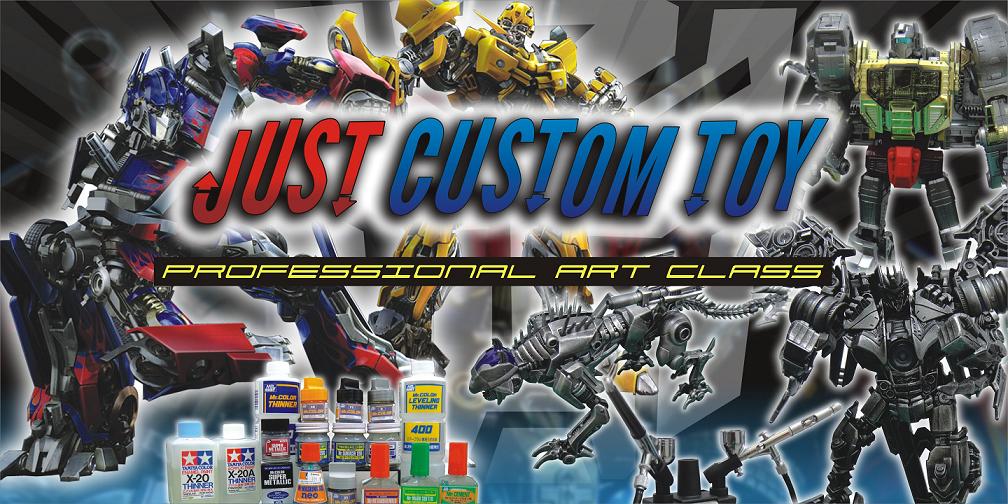
Why Custom Repaint?
Custom repaint, primarily is to cover (or to fix) all these defects that was described earlier. On top of that it also transform the plastic/resin look into a more real looks. And it is also to protect our precious collection cos with the right paint job material, it make the collection lasting.
Flashes - defect correction
Flash are the result of the molding process, where it is the excess of the plastic resin. Depending on type of plastic material; some are soft, rubber, hard or flexible type. Usually a very sharp hobby knife is good to clean the flashes. And for softer plastic, use of soldering iron is a good option as the heat will melt the excess flash away.
Uneven surface or stress mark - defect correction
Surfacer (diluted putty) is the best to cover the uneven surface especially it cover big space. Once the surface is dried, use the most fine sand paper to cleaned the uneven area. And re-apply another layer of surfacer.
Then finished it with any paint color of your choice.
Tips of repaint
There are 3 type of paints for plastic/resin model which are :-
1. Acrylic
2. Enamel
3. Lacquer
My choice of brand are Mr-Hobby and Tamiya. And make sure you use the right Thinner to dilute the color. And every color, the mixed of Thinner might not be the same. Best is to try it on your own. Too thick or too thin the mixed will not be good. The best is milky type of mix.
Always start with shading which usually dark color. Cover the corner area as it is the harder for the air-brush to reach. Then only apply the real color.
For normal weathering look, dry brush technique should do the work. Then only you do enamel wash... thinly. And you can further correct any of your defect work with air-brush again.
Once all are done... it is very important that you sealed your art with a layer of Lacquer clear type color. There are 3 type of finishing, either you can pick matte, clear or super clear. Spray generously on this layer cos it is the layer that will protect your paint job.
SUMMARY
Repaint is an art and require some amount of knowledge and experience. Practice more and you will gain the experience for you to improve and make your next project better until you created a masterpiece.
